The Ultimate Choice: Stardew Valley Rancher or Tiller
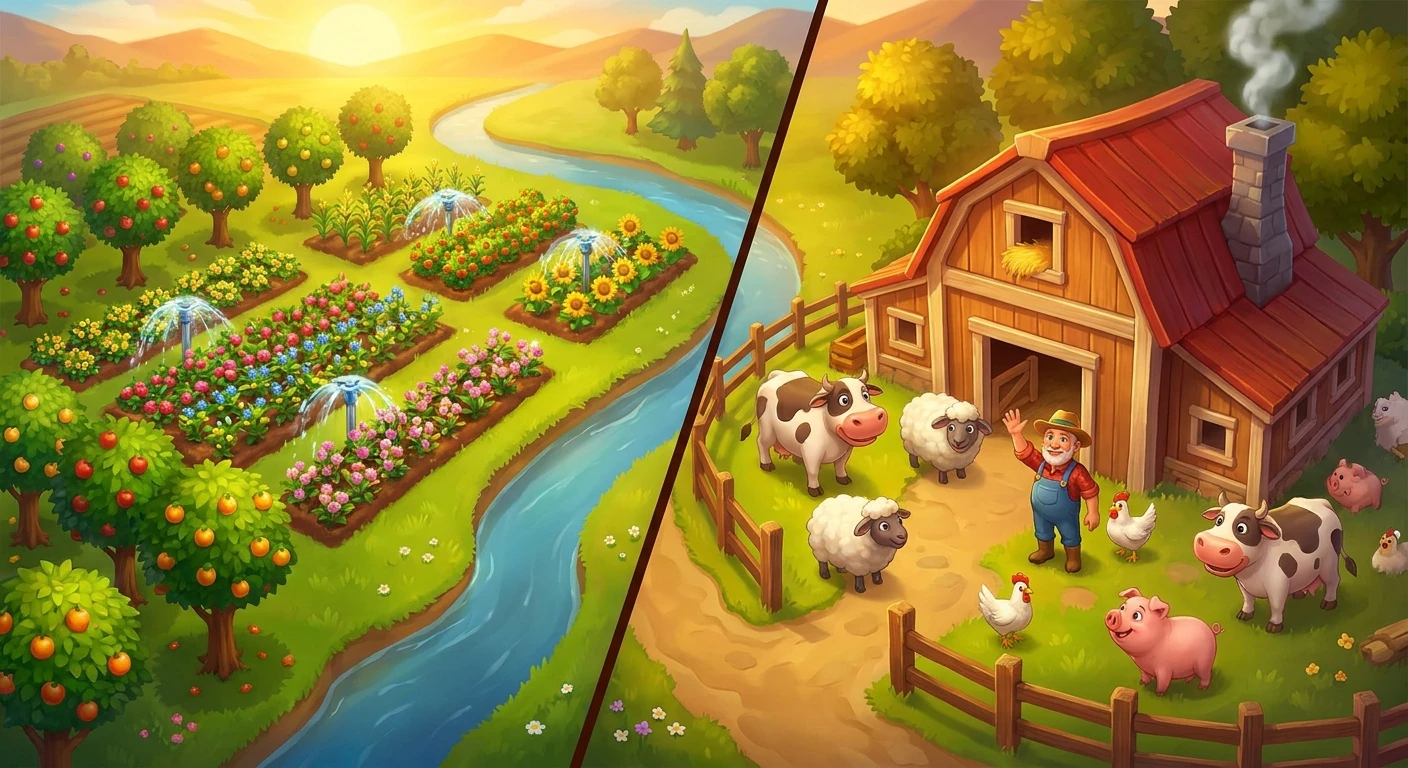
When reaching Farming Level 5, every player faces a critical decision: choosing the Stardew Valley Rancher or Tiller profession. This single choice fundamentally dictates the economic trajectory of your agricultural empire. You have spent countless in-game days watering parsnips, tending to chickens, and clearing debris from your inherited plot of land. Suddenly, the leveling screen appears as your character sleeps, forcing you to pick between a 20% value increase for animal products or a 10% value increase for crops. While it might seem like a simple matter of preference, this branching path leads to entirely different end-game strategies.
The farming skill tree is the backbone of your financial success. Both paths offer distinct economic advantages, but your specific daily routine and playstyle will dictate the best long-term strategy for maximum gold generation. Some players prefer the quiet, steady rhythm of tending to barns and coops every morning, harvesting eggs and milk. Others prefer the massive, automated seasonal payouts that come from expansive fields of crops managed by iridium sprinklers. Understanding the exact mechanical benefits, the downstream Level 10 professions they unlock, and how they synergize with your current farm layout is essential for any serious player looking to optimize their daily yield without burning out.
Read also: Martha Kalifatidis: Brand Strategy & Digital Success; Stardew Valley Cross Platform Guide and Setup Status; Valley Combat Guide: Master Tactical Terrain.
The core of this debate rests on understanding that this choice is an investment in your future processing capabilities. Whether you want a farm dominated by ancient fruit wine or one bustling with happy pigs digging up truffles, your Level 5 decision sets the foundation.
Understanding the Core Value Proposition
To accurately evaluate whether you should become a Rancher or a Tiller, you need to look past the immediate flat percentages and analyze the massive economic chains each profession unlocks. The Level 5 choice is merely a stepping stone to the much more powerful Level 10 professions.
| Profession Path | Level 5 Bonus | Level 10 Unlock Options |
|---|---|---|
| Tiller | Crops worth 10% more | Artisan (Goods worth 40% more) OR Agriculturist (Crops grow 10% faster) |
| Rancher | Animal Products worth 20% more | Coopmaster (Incubate faster, coop animals befriend quicker) OR Shepherd (Sheep produce faster) |
| Flexibility | Requires Statue of Uncertainty | Costs 10,000G to change paths overnight |
The value proposition here is highly distinct. For example, if you choose the crop route, your ultimate goal is likely the Artisan profession. Turning a basic melon into melon wine already multiplies its base value significantly; adding a 40% premium on top of that processed good creates astronomical wealth. On the other hand, if you focus on livestock, your immediate daily income spikes. A gold-star cheese or mayonnaise benefits immensely from early game percentage boosts, allowing you to fund tool upgrades and building constructions rapidly.
If you are torn between the two, follow this analytical framework:
- Assess your daily routine: Do you spend more energy watering plants or petting animals? Let your most frequent activity dictate your early-game choice.
- Calculate your processing capacity: If you do not have the resources to build dozens of kegs and preserve jars, the raw crop value bonus of Tiller might not outweigh the steady, immediate cash flow of Rancher’s animal products.
- Plan for Level 10 specialization: Always pick your Level 5 profession based on which Level 10 ability you ultimately want. The end-game economy relies heavily on either Artisan goods or specialized animal processing.
Origins of the Farming Skill Tree
When Eric Barone, known professionally as ConcernedApe, initially developed this beloved farming simulation, the skill trees were designed to reward players regardless of how they chose to experience the game. The original implementation of the farming skills intended to make both agricultural giants and humble shepherds viable playstyles. In the earliest versions of the game, the raw numbers were slightly different, and the community aggressively tested the boundaries of the economy to find the absolute most profitable routes. The distinction between raising crops and raising livestock was built into the game’s code from day one, forcing players to commit to a specific identity for their farm.
Evolution of Stardew Valley Professions
Over the years, the balance between these two paths underwent significant scrutiny. During the early days, players found that crop farming vastly outpaced animal husbandry in the late game due to the infinite scaling of kegs and jars. To combat this, subsequent updates introduced new mechanics, better animal products, and quality-of-life improvements for barn and coop management. A monumental shift occurred in Patch 1.3 with the introduction of the Statue of Uncertainty in the sewers. This allowed players to pay 10,000 gold to change their professions overnight. Suddenly, the pressure of making a permanent, game-ruining mistake vanished. Players began taking Rancher in the early game for immediate cash flow, then switching to Tiller and Artisan in the late game once their wine empires were established.
Modern State of Farming Strategies
Today, the strategy is highly refined. The established meta heavily favors the Tiller-to-Artisan pipeline for sheer late-game profitability. However, the game’s enduring charm lies in its flexibility. With the addition of auto-petters and ostrich incubators in more recent updates, the Rancher path (specifically branching into Coopmaster or Shepherd) has seen a massive resurgence among players who prefer a low-maintenance, high-joy farm. The modern state of the game encourages you to fluidly shift between professions depending on the current season, your current wealth, and your personal goals.
The Mathematics of Crop and Animal Scaling
To truly master your farm’s economy, you must understand the underlying math governing price multipliers. The game calculates the final selling price by taking the base value of the item, multiplying it by its quality modifier (Silver is 1.25x, Gold is 1.5x, Iridium is 2x), and then applying your profession bonus. Because the Tiller bonus is 10% and the Rancher bonus is 20%, raw animal products scale faster in the early game than raw crops. However, crops have a higher base value density when planted in massive grids. A single pig finding a truffle creates high value, but a field of 400 blueberries creates a mathematical volume that animals simply cannot match due to barn space limitations.
Processing Mechanisms and Artisan Goods
The real technical divergence happens at the processing level. When you place an item into a machine, its profession modifiers change.
- A basic crop placed into a keg multiplies its base value by 3 (for fruits) or 2.25 (for vegetables), taking 7 in-game days to process.
- The Tiller’s 10% raw crop bonus is instantly negated once the crop enters a keg. The resulting wine only benefits from the Level 10 Artisan bonus (40%).
- Animal products placed in mayonnaise machines or cheese presses process in hours, not days.
- The Rancher’s 20% bonus applies to raw milk and eggs, but once turned into cheese or mayo, they are considered Artisan goods, meaning they too rely on the Level 10 Artisan profession for maximum profit.
Your Actionable 7-Step Specialization Plan
Making the right choice requires foresight and planning. Follow this step-by-step methodology to transition smoothly from a struggling newcomer to a multi-millionaire farmer.
Step 1: Evaluate Your Starting Farm Layout
Your chosen farm map dictates your available space. The Standard Farm offers massive expanses of tillable soil, heavily favoring a crop-centric approach. Conversely, the Forest Farm or Meadowlands Farm might have less arable land or start with early animal infrastructure, naturally guiding you toward livestock. Align your profession with your terrain.
Step 2: Track Your Primary Income Sources
During your first Spring, monitor where your gold is coming from. If you spend all your money on kale and potato seeds, you are naturally building a crop empire. If you rushed a coop and bought chickens as fast as possible, you are leaning heavily into animal products. Do not fight your own momentum.
Step 3: Reach Farming Level 5 Quickly
Experience points in farming are gained by harvesting crops and petting/milking/shearing animals. To accelerate your path to Level 5, plant fast-growing, low-cost crops like parsnips in massive quantities. Every harvested crop pushes you closer to that crucial profession unlock screen.
Step 4: Lock In the Stardew Valley Rancher or Tiller Profession
When the screen appears, make your choice confidently based on your Year 1 goals. For immediate, steady income to afford bag upgrades and tool upgrades, livestock products with a 20% boost are exceptional. If you are already stockpiling hundreds of berries and planning a massive summer harvest, take the 10% crop boost.
Step 5: Construct Supporting Infrastructure
Once your profession is locked, build around it. If you chose crops, dedicate your resources to mining quartz, iron, and gold to mass-produce quality sprinklers. If you chose livestock, gather wood and stone to build silos, upgrade your barns, and purchase heaters for the upcoming winter.
Step 6: Transition to Level 10 Specializations
As you approach Level 10, prepare for the final economic pivot. The vast majority of players will aim for the Artisan profession, which makes wine, jelly, cheese, and cloth 40% more valuable. Ensure you are tapping oak trees for resin to build kegs, or stockpiling coal and wood for preserve jars.
Step 7: Re-specialize Later if Necessary
Never feel trapped by your early-game choices. Once you unlock the sewers by donating 60 items to the museum, you gain access to the Statue of Uncertainty. If you spent Year 1 as a shepherd but want to transition into an ancient fruit wine baron in Year 3, simply pay the 10,000G fee and swap your skill tree.
Debunking Common Misconceptions
Myth: Choosing the livestock path ruins your late-game economy because crops are inherently better.
Reality: While massive crop farms mathematically yield the highest possible gold per tile, a fully upgraded barn of pigs hunting iridium-quality truffles (especially when combined with the Gatherer/Botanist foraging skills) generates millions of gold with significantly less daily player effort.
Myth: The 10% crop bonus applies to processed goods like wine and jelly.
Reality: The Level 5 Tiller bonus ONLY applies to raw, unprocessed crops. The moment you place a fruit in a keg, it loses the raw crop bonus and relies entirely on the Level 10 Artisan bonus.
Myth: You must start a new save file if you click the wrong profession by accident.
Reality: The Statue of Uncertainty in the sewers allows you to change your profession at any time for 10,000G, making any “mistake” completely temporary.
Frequently Asked Questions
Is Artisan better than Agriculturist?
In almost all economic scenarios, Artisan is vastly superior. A 40% flat increase to the most valuable items in the game (wine, truffle oil, cheese) heavily outpaces the 10% growth speed reduction from Agriculturist, especially since growth speed can be supplemented with Deluxe Speed-Gro fertilizer.
Does Tiller affect foraged items?
No. Items picked up from the ground, such as wild plums, spring onions, or truffles, fall under the Foraging skill tree. They are affected by the Gatherer and Botanist professions, not your farming skills.
Do mayonnaise prices increase with Rancher?
No, not directly. Mayonnaise is considered an Artisan good. While Rancher increases the value of the raw egg by 20%, processing that egg into mayonnaise shifts its category. To boost mayonnaise prices, you need the Level 10 Artisan profession.
Can I be both a Rancher and a Tiller?
No, you cannot possess both professions simultaneously on a single character. However, in multiplayer co-op farms, one player can choose the livestock path while the other chooses the crop path, allowing the farm as a whole to benefit from both multipliers depending on who sells the items.
Where do I change my profession?
You can change your profession at the Statue of Uncertainty, located in the sewers. You unlock the sewers by obtaining the Rusty Key from Gunther after donating 60 items to the Pelican Town Museum.
Does Rancher affect truffles?
No. Even though pigs are barn animals, the truffles they dig up are coded as foraged items. Therefore, they do not receive the 20% animal product bonus. They are modified by the Foraging skill tree.
Which profession is better for the Greenhouse?
The Tiller path (leading into Artisan) is universally better for the Greenhouse. The Greenhouse is typically filled with ancient fruit or starfruit, which are harvested year-round and processed into highly lucrative wine.
Ultimately, the Stardew Valley Rancher or Tiller decision is a beautiful mechanism that encourages players to find their own rhythm. Whether you find peace in the sprawling fields of summer wheat or the cozy interior of a winter barn, both paths offer rich, rewarding gameplay. Analyze your farm layout, evaluate your preferred daily tasks, and don’t be afraid to change your mind later. Now, grab your watering can, pet your chickens, and start maximizing those daily profits!