
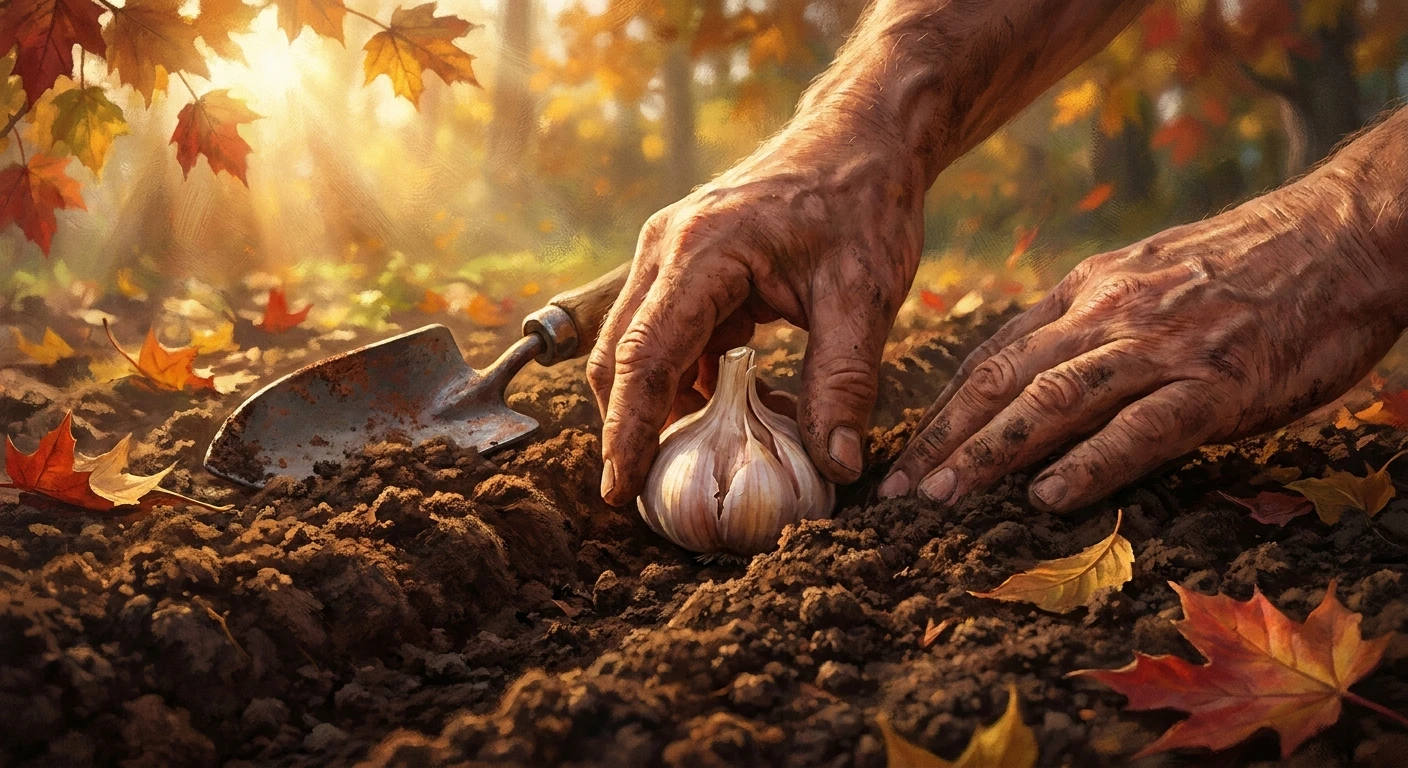
The Ultimate Guide on How to Plant Garlic
If you are wondering how to plant garlic and actually get a harvest worth bragging about to all your friends, you are definitely in the right spot. Listen, growing this incredibly punchy allium is not rocket science by any stretch of the imagination, but it does take a little bit of finesse and timing. I remember back in my grandmother’s garden in Poltava, Ukraine, garlic was practically treated like a religion. We would spend late autumn afternoons prepping the dark, rich soil, wrapping our coats tight against the biting chill of the wind. She taught me early on that garlic is the absolute soul of our kitchen—a traditional borscht just isn’t real borscht without a heavy handed dose of it. That core memory stuck with me forever, and now that we are deep into 2026, I still use her exact traditional methods blended with some newer soil science. My goal right here is very simple: I want to share that ancestral knowledge so you can grow giant, flavorful bulbs right in your own backyard. Forget those sad, shriveled supermarket cloves that have been sitting on a truck for weeks. When you grow it yourself, the flavor profile is wildly intense and fresh. Grab a coffee, grab your trowel, and let’s get those hands dirty.
Why do we even bother growing it at home when it is so cheap at the store? The massive benefits of homegrown garlic completely outshine the minimal effort required to maintain a bed. First off, commercial store-bought garlic is often sprayed heavily with chemicals to prevent sprouting on the shelf, which completely kills the natural flavor and robs you of those potent organic health benefits. By doing it yourself, you control the entire environment from start to finish. Think about the crazy value proposition here: you plant one single clove, and a few months later, you get an entire bulb back. Example one: plant fifty cloves of a premium hardneck variety, and you secure a whole year’s supply of gourmet garlic for the cost of a couple of seed bulbs. Example two: the incredible garlic scapes! Hardneck varieties shoot up these curly, delicious green stems that you can snip off and turn into the most incredible, spicy pesto weeks before the actual bulb is even ready to be pulled from the ground. It is literally a two-for-one harvest. Here is a quick breakdown of what you need to know about the different main types before you buy your seed:
Read also: How to Survive a kimberley cyclone Safely; Building the Perfect Tobacco Shed Guide.
| Garlic Type | Climate Preference | Storage Life |
|---|---|---|
| Hardneck (e.g., Rocambole) | Cold Winters (Requires freeze) | 4-6 Months (Peels easily) |
| Softneck (e.g., Artichoke) | Mild Winters (Warmer zones) | 9-12 Months (Great for braiding) |
| Elephant (Technically a leek) | Extremely Versatile | 8-10 Months (Mild flavor) |
To get this right and ensure massive bulbs, you have to follow a few absolute rules in the garden.
- Choose the absolute right seed: Never, ever plant supermarket garlic. Buy certified, disease-free seed garlic from a local nursery or dedicated seed supplier to avoid introducing terrible soil-borne diseases into your raised beds.
- Prep the soil aggressively: Garlic absolutely hates wet feet. You need highly well-draining soil that is packed ridiculously rich in organic matter. Good quality compost is your absolute best friend here, so pile it on thick.
- Time it perfectly for your zone: Fall planting is completely non-negotiable for most regions with real winters. The cloves need a long period of cold dormancy to split properly.
Origins of the Stinking Rose
Garlic has been around long before any of us started worrying about vampires in movies or seasoning our Sunday family roasts. The deep roots of this incredible plant trace back well over five thousand years to the harsh terrains of Central Asia. Wild garlic grew abundantly in the rocky, mountainous regions, naturally adapting to survive brutal, freezing winters and blistering hot summers. Nomadic tribes wandering through these areas quickly figured out that this pungent little bulb was not only safe to eat, but it also gave them a massive energy boost and kept stomach sickness at bay during long journeys. The ancient Egyptians loved the stuff so much they actually paid the workers building the Great Pyramids with daily rations of garlic to keep their stamina up and prevent outbreaks of illness in the camps.
The Evolution of Cultivation
As global trade routes slowly opened up, garlic essentially hitchhiked its way across the entire globe. The Greeks and Romans brought it deep into Europe, where it evolved into the culinary staple we all know and love today. Over centuries of selective breeding by dedicated farmers across wildly different climates, the wild allium split into the two main categories we cultivate right now: hardneck and softneck. Farmers quickly noticed that in colder regions like Eastern Europe, Ukraine, and Russia, the hardneck varieties thrived beautifully, developing incredibly complex, spicy flavors. Meanwhile, the Mediterranean folks heavily preferred the softnecks simply because they braided beautifully, grew well in the heat, and lasted through long, mild winters in storage.
Modern State of Garlic Growing
Fast forward to 2026, and garlic cultivation has hit a massive, widespread renaissance. Backyard gardeners are absolutely obsessed with finding and saving rare heirloom varieties. We are seeing a massive shift right now away from huge corporate monoculture farms producing flavorless, bleached white bulbs. Instead, the focus has shifted towards small-scale, organic home growers cultivating stunning purple stripes, porcelain, and rare rocambole varieties. The modern gardener knows that true culinary magic starts directly in the living soil, relying heavily on biological diversity and healthy compost rather than harsh synthetic chemical fertilizers.
The Magic of Vernalization
If you genuinely want to understand why we insist on planting in the fall, you absolutely need to understand a biological process called vernalization. Vernalization sounds like a highly complicated scientific concept, but it is actually just a fancy botanical word for “needing a long cold nap.” Garlic cloves possess a strict biological clock that requires exposure to cold temperatures—usually remaining below 40 degrees Fahrenheit (or about 4 degrees Celsius)—for roughly four to eight consecutive weeks. This prolonged cold shock triggers a massive hormonal change inside the cellular structure of the clove. Without this cold period, the plant gets confused and will just grow into one massive, round onion-like bulb (often referred to by growers as a “round”) instead of dividing perfectly into the beautiful, distinct cloves we actually want. That is exactly why planting in the spring often leads to highly disappointing, single-clove harvests.
Allicin and Soil Chemistry
Here is a crazy fact: the sharp, spicy flavor of garlic does not actually exist while the bulb is just sitting there whole. That intense chemical reaction is a natural defense mechanism meant to deter animals from eating it. When the cells of the plant are physically ruptured by a knife or your teeth, a specific enzyme called alliinase instantly mixes with an organic compound called alliin to create allicin. To maximize the production of this amazing compound, your soil chemistry completely matters.
- Nitrogen requirement: Garlic is an incredibly heavy feeder. It needs high nitrogen levels in the early spring to produce large, healthy green leaves, which directly correlates to final bulb size.
- Sulfur dependency: The pungent flavor compounds (specifically allicin) are heavily sulfur-based. Amending your garden soil with a bit of elemental sulfur or organic sulfate can drastically increase the spiciness of your harvest.
- pH sweet spot: The ideal soil pH sits right exactly between 6.0 and 7.0. Anything too acidic will physically lock up essential nutrients and stunt the root growth severely.
- Mycorrhizal fungi: Beneficial soil fungi naturally attach to garlic roots, acting like microscopic extensions that pull in extra phosphorus and water, leading to massively improved, gigantic bulb development.
Listen, if you are hyped up and ready to get moving right now, here is a highly detailed, simple step-by-step roadmap to get those cloves into the ground properly. Do not skip steps!
Step 1: Sourcing Your Seed
Do not just go to the local grocery store. Buy proper seed garlic from a reputable online seed company or a local farmers market vendor you trust. Look for incredibly firm, large bulbs with zero signs of blue mold or squishy soft spots. Remember this rule: the bigger the clove you plant, the bigger the bulb you will harvest.
Step 2: Preparing the Bed
Clear a garden spot that gets at least six to eight hours of direct, blazing sunlight. Weed the area meticulously because garlic hates root competition. Turn the soil over deeply with a fork and break up any hard clods so the tiny roots can push down easily into the earth.
Step 3: Amending the Soil
Spread a healthy, thick two-inch layer of rich, well-rotted compost over your entire bed. Mix in an organic, slow-release granular fertilizer that is specifically high in phosphorus and potassium. This encourages ridiculously strong root development before the harsh winter freeze locks the ground solid.
Step 4: Cracking the Bulbs
Pop the main bulbs apart into individual cloves just a day or two before you actually plant them. Keep the papery skins on! Do not peel them. That thin skin protects the raw clove from fungus, rot, and disease in the wet, freezing winter soil.
Step 5: The Planting Process
Dig a long trench or individual holes about two to three inches deep. Space the cloves about six generous inches apart. Plant them pointed side facing straight up and the flat root-end facing straight down. If you accidentally plant them upside down, the stem will curve around itself, and the resulting bulb will be highly deformed.
Step 6: Watering In
Give the entire bed a very good, deep soak immediately after planting them. This crucial step helps settle the loose soil firmly around the cloves, eliminating dangerous air pockets and signaling to the dormant clove that it is finally time to start pushing out tiny roots.
Step 7: Heavy Mulching
This is your ultimate insurance policy against the weather. Cover the entire planted bed with four to six inches of clean straw, shredded autumn leaves, or clean alfalfa hay. This heavy mulch blanket perfectly regulates soil temperature, prevents violent freeze-thaw heaving, and naturally suppresses those annoying early spring weeds.
People love to overcomplicate simple gardening tasks with bad advice passed down on the internet. Let’s clear up some absolute nonsense right now so you do not ruin your crop.
Myth: You can just plant the random garlic that started sprouting green shoots on your warm kitchen counter.
Reality: Supermarket garlic is almost always treated heavily with sprout inhibitors and may carry silent viruses that will permanently infect your garden soil for years. Always use certified seed.
Myth: You should tie the green tops in knots to make the bulbs grow bigger before harvest.
Reality: Tying, braiding, or stomping the living leaves heavily damages the plant’s natural ability to photosynthesize. Let the leaves stand and grow naturally; they are actively feeding the bulb underground.
Myth: You completely stop watering when the curly scapes first appear.
Reality: Garlic desperately needs consistent moisture while sizing up its bulbs. You only stop watering about two weeks before the final harvest to allow the papery outer wrappers to dry out.
Myth: Planting much deeper prevents frost damage in winter.
Reality: Planting too deep forces the poor plant to expend all its limited energy just reaching the surface, resulting in tiny, pathetic bulbs. Stick to the two-inch rule and rely on mulch.
Can I plant garlic in the spring?
Yes, but honestly, only softneck varieties will tolerate it, and they will likely be much smaller than fall-planted ones.
How often should I water?
Aim for about one inch of water per week during the active, hot spring growing phase.
Do I need to peel the cloves?
No. Keep the papery wrapper completely intact to protect the clove from soil rot.
What are garlic scapes?
The crazy curly flower stalks produced specifically by hardneck garlic in late spring.
Should I cut the scapes off?
Yes, absolutely snip them off so the plant redirects all its energy strictly to bulb growth.
How do I know when it is ready to harvest?
When the bottom three or four leaves turn completely brown and dry up, it is time to pull.
Can I grow garlic in pots?
Absolutely. Just ensure the patio pot is at least eight inches deep with fantastic drainage holes.
Does it need full sun?
Yes, a strict minimum of six to eight hours of direct sunlight daily for massive bulbs.
There you have it, friends. You are now totally equipped with everything you need to grow the most incredibly flavorful alliums of your entire life. Get your hands deep in the dirt, trust the slow process, and soon you will have a stunning harvest that will make your neighbors extremely jealous. Grab some premium seed garlic today, prep your beds, and start planting!