
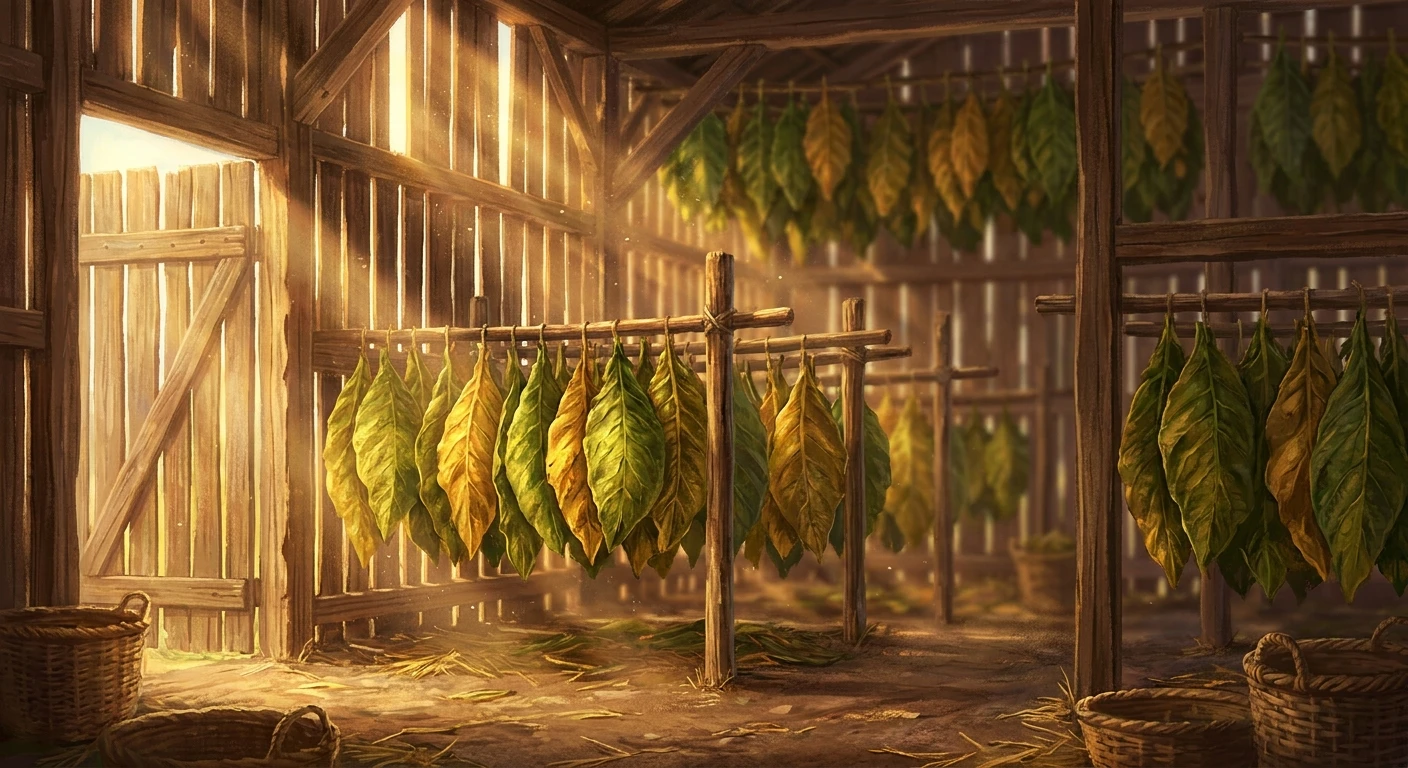
Why You Need a Reliable Tobacco Shed
Let me tell you right away, setting up a proper tobacco shed is the absolute game-changer if you want to cure leaves like a pro. You might think any old barn, basement, or garage will do the trick, but that is a massive mistake. Moisture control is everything in this process.
Back in my grandfather’s village near Poltava, Ukraine, they didn’t just hang leaves anywhere. They had a specific wooden outbuilding, heavily ventilated to catch the dry summer breezes of the steppe. I remember running through the hanging golden leaves as a kid; the rich, earthy, sweet smell was completely unforgettable. They knew that if you leave your harvest in a damp, unventilated room, mold will destroy months of hard work literally overnight.
A dedicated space gives you total control over the environment. By managing airflow and humidity exactly right, you ensure the leaves turn that beautiful golden brown, developing complex, rich flavors instead of rotting away on the stick. As we push through 2026, unpredictable climate shifts make having a controlled, purpose-built structure even more critical for a successful cure. This guide walks you through everything you need to construct, maintain, and optimize your curing space for the absolute best harvest possible.
The Core Mechanics of a Curing Space
What exactly makes a structure suitable for curing? It boils down to a specific balance of airflow, temperature regulation, and structural integrity. The value of getting this right is massive. First, you get significantly higher quality yields. Imagine curing a batch of Virginia Gold and getting sweet, perfectly combustible leaves instead of harsh, green-tasting trash. Second, you prevent catastrophic crop loss. A buddy of mine lost 50 pounds of premium harvest simply because his makeshift structure lacked proper cross-ventilation.
To really understand how the building does the work for you, look at how we balance these structural requirements:
| Structural Requirement | Primary Purpose | Ideal Condition |
|---|---|---|
| Ventilation Panels | Prevents mold and rot | Adjustable side vents on all walls |
| Roof Overhang | Rain and weather protection | 2-foot minimum extension |
| Tiered Poles | Maximizes hanging space | Spaced 24 inches apart vertically |
If you are sketching out your layout right now, here are the non-negotiable elements you must include:
- Adjustable side vents: You absolutely need to open them during humid days and close them up tight when the ambient air gets too dry.
- Sturdy hanging tiers: Fresh green leaves are incredibly heavy. Flimsy wire will snap under the weight. Use thick wooden poles or heavy-duty agricultural piping.
- Dirt or gravel floor: Concrete holds moisture strangely and heats up way too fast in the sun. A natural floor helps stabilize ambient humidity naturally.
- Pest-proof roofing: Birds, wasps, and rodents love to nest in curing leaves. Seal the top ridges properly with wire mesh.
Listen, I cannot stress enough how much the right layout impacts your daily routine. When you are hauling heavy bundles of wet leaves, you want wide aisles. You want doors that swing outward, not inward, so they don’t crush your harvest when you step inside to check on them. Creating this dedicated space means you stop guessing and start controlling the outcome. The difference is exactly like brewing specialty coffee versus drinking instant dust.
The Origins of Curing Structures
Centuries ago, indigenous peoples in the Americas didn’t use elaborate buildings. They air-cured leaves simply by hanging them in open-air shelters or semi-enclosed communal dwellings. When European settlers adopted the agricultural practice, they quickly realized that varying, unpredictable weather patterns frequently ruined the cash crop. They started building specific wooden barns with slatted sides. These early designs were purely functional, built with whatever local timber was available, relying entirely on natural wind to pull moisture out of the heavy green foliage over several months.
The Evolution of Curing Barns
As the trade grew rapidly in the 18th and 19th centuries, the architecture evolved dramatically. Farmers introduced the flue-curing method, which required specialized fireboxes outside the main building. Heat was piped through metal flues running across the dirt floor, drying the crop quickly without exposing it to actual smoke. This was a massive technological leap forward. The buildings got taller, often featuring distinct, recognizable cupolas on the roof to draw hot, moist air up and out, acting like a giant natural chimney.
The Modern State of Drying Facilities
Fast forward to today, and the approach has shifted once again. While large commercial operations use massive, computer-controlled metal kilns, the backyard enthusiast is returning to traditional roots—but with a distinct high-tech twist. We now seamlessly integrate solar-powered extraction fans and smart wireless humidity sensors directly into simple wooden frames. Even in a basic backyard setup, you can monitor the internal climate straight from your phone. This hybrid approach gives small-scale growers an incredible advantage. You get the authentic, slow-cured flavor of traditional air-drying, combined with the extreme reliability of modern technology.
The Biochemistry of Curing
Let’s get a bit nerdy for a second. Curing isn’t just drying; it is active starvation. When you cut the leaf and hang it in your space, the plant cells are still very much alive. They continue to respire, consuming stored starches and converting them into simple sugars. If you dry the leaf too fast, the cells die immediately, trapping those harsh starches inside. That gives you a bitter, tongue-biting smoke. If you dry it too slowly, fungi take over, and the leaf turns to mush. The structure’s entire job is to maintain that delicate middle ground where the leaf slowly yellows, signaling the perfect breakdown of chlorophyll.
Mastering Psychrometrics
Psychrometrics is just a fancy scientific term for how temperature and humidity interact in the air. Warm air holds significantly more water than cold air. When the sun beats down on your roof, the air inside heats up, actively absorbing moisture from the hanging leaves. As it absorbs water, the air cools and gets physically heavy. You need cross-ventilation to push that heavy, damp air out before it condenses back onto the leaves at night. By using simple vents, you manipulate this airflow naturally. You let the hot air escape through the top ridge, creating a vacuum that pulls fresh, drier air through the lower side vents. Understanding this basic physics principle separates the amateurs from the masters. Here are the hard scientific facts you need to monitor during the process:
- Starch-to-sugar conversion: Peaks when relative humidity is strictly maintained between 65% and 70% during the initial yellowing phase.
- Chlorophyll degradation: Requires ambient temperatures around 70°F to 90°F to break down the green plant pigments effectively.
- Enzymatic browning: If humidity drops below 50% too early in the cycle, enzymes deactivate permanently, locking a green tint into the tissue.
- Dew point management: Preventing nighttime condensation is critical, as free water on the leaf surface provides a perfect breeding ground for botrytis (gray mold).
Step 1: Choose the Right Location
Pick a spot with good sun exposure but decent wind protection. You want natural, prevailing breezes to hit the broad side of the structure, maximizing cross-ventilation. Avoid low-lying areas in your yard where water pools after heavy rain, as this will spike your internal humidity.
Step 2: Lay a Solid Foundation
Skip the expensive concrete slab. Use pressure-treated wooden skids resting on leveled concrete blocks, or lay a simple, thick gravel bed. This promotes ground drainage and keeps the wooden base of your structure from rotting out over the years.
Step 3: Frame the Walls
Use standard 2×4 lumber for the skeleton. Build the walls tall—at least 8 to 10 feet high. You need maximum vertical height to hang multiple overlapping tiers of leaves without the bottom row touching the damp ground.
Step 4: Install Tiered Hanging Rails
Before closing up the exterior walls, install sturdy horizontal poles across the frame. Space them exactly 24 inches apart both vertically and horizontally. This specific spacing is universally recognized as optimal for standard 4-foot leaf sticks.
Step 5: Construct the Vented Roof
Cap the frame off with a steeply pitched metal roof. Leave a continuous 2-inch gap at the very top ridge and cover it with a raised metal ridge cap. This brilliantly allows trapped hot air to escape constantly without letting rain in.
Step 6: Add Hinged Side Vents
Instead of solid, unmoving siding, build large, hinged panels running horizontally along the walls. You can prop these open with wooden sticks on dry, breezy days and latch them tightly shut during heavy rainstorms.
Step 7: Weatherproof and Seal
Apply a good non-toxic wood sealant to the exterior to protect your investment. Staple hardware cloth (wire mesh) tightly behind all vents and ridge openings to keep out birds, mice, and large insects. Tackle one step a day, and by next weekend, you will have a professional-grade curing environment completely ready for harvest.
Separating Myths from Reality
People love to overcomplicate this process with wild internet theories. Let’s clear up some nonsense so you can build with confidence.
Myth: You need a massive, commercial-sized barn to cure leaves properly.
Reality: A small 4×4 foot, well-ventilated wooden box can easily cure enough leaves for a hefty personal supply. Internal size matters far less than excellent airflow control.
Myth: You can just use a standard plastic garden greenhouse.
Reality: Plastic traps condensation terribly. Your leaves will practically boil and mold in a sealed greenhouse. You absolutely need breathable materials like wood and open venting.
Myth: You must use artificial heat sources to get a good cure.
Reality: Traditional air-curing requires zero artificial heat. If you manage your mechanical vents correctly, normal ambient air temperature and natural humidity are completely sufficient.
Don’t let these misconceptions stop you from starting your build. Stick to the absolute basics of airflow and moisture management, and you will do great.
Frequently Asked Questions
How long does curing take?
Generally, it takes anywhere from 4 to 8 weeks depending entirely on your local weather and humidity levels.
Can I use my garage?
Only if you install massive cross-ventilation fans; otherwise, trapped moisture means mold will inevitably win.
What wood is best for building?
Rough-sawn cedar or pressure-treated pine are excellent choices for long-term durability against rot and insects.
How do I prevent mold outbreaks?
Keep the air moving constantly using your adjustable side vents and consider adding small solar ceiling fans.
Do I really need a dirt floor?
Dirt or gravel is highly recommended over concrete to help regulate natural humidity without creating harsh dry spikes.
Can I cure during the winter?
It is incredibly tough. You need ambient temperatures consistently above 60°F for proper chemical changes to occur inside the leaf.
Should leaves touch while hanging?
Absolutely not. They desperately need air space between them to dry evenly and prevent localized rot.
Listen, building your own space is incredibly rewarding. It gives you absolute power over the final quality of your harvest. Stop relying on subpar, risky drying methods and start constructing your dedicated tobacco shed today. Leave a comment below with your build progress or questions!